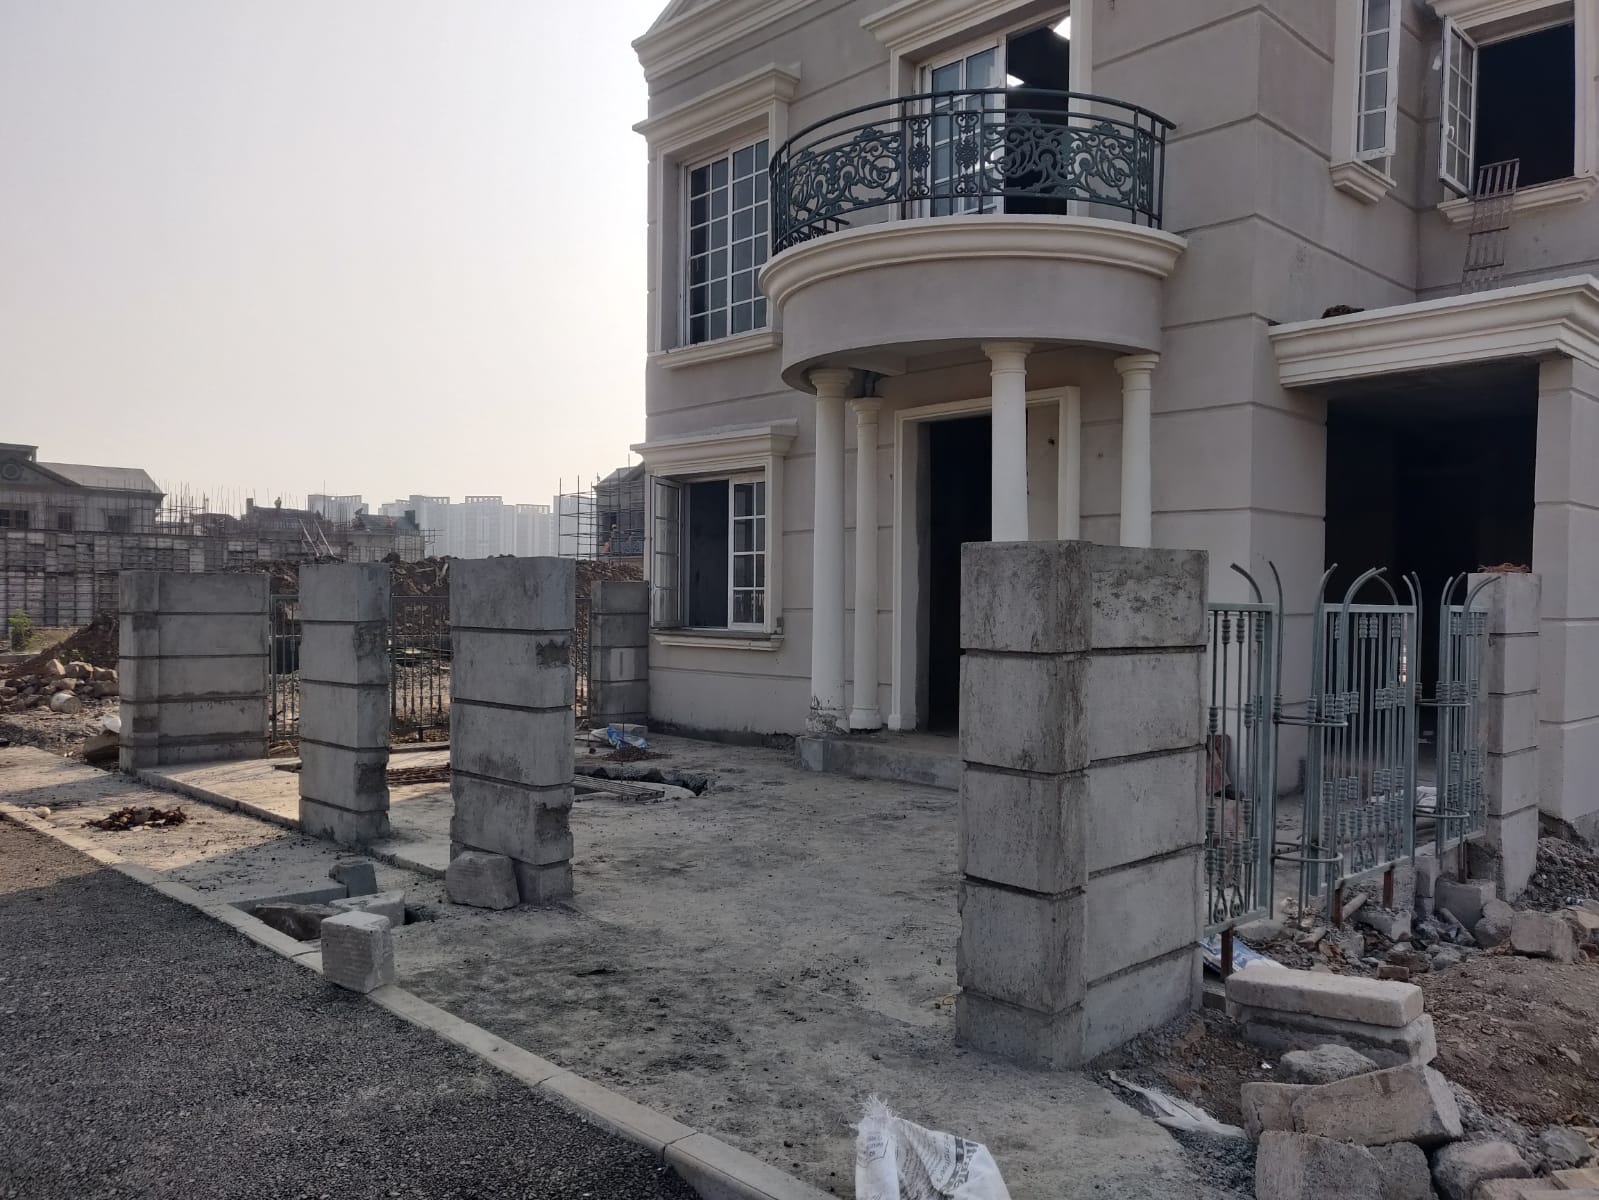
External Plaster for Mivan construction When Villa work done with Mivan technology external walls are made of RCC. Plaster work generally not preferred for Mivan construction but when the Grooves or any other asthetically required design is provided by architect we need to provide plaster.
Equipment Used 1) Suitable capacity of Mechanical Mixer 2)Farmas -35 lit size 3) Aluminium straight edge 4)Measuring Jars 5)Mixing Tray 6)Buckets 7)Mason Trowel/Tools 8)Plum bob 9) Line Dori 10) Scafolding 11) Tacha machine 12) Drill machine with Drill bit 13) Curing Pipe 14) Level tube 15) Chain Pulley
Construction Material Used for Plaster 1) Cement 2) Sand 3) Chemical LW+ (200 ML per bag of cement) 4) Fosroc -Plasticizer (75 ML per bag of cement) 5) Chicken Mesh 6) Cement khila to fix checken mesh
Pre plaster checks 1) Surface dressing, if required, done with respect to line & plumb. 2) Holes of plumbing / soil line in duct checked with line from outside. 3) Hacking of concrete surface to be done 4) Nails, binding wire & tie rods etc. removed from concrete surface and treated as specified. 5) Water proofing work to all the offset, cornices, chajjas completed before external plastering. 6) All joints between masonry & RCC should be filled with rich mortar & treated with non shrink mortar e.g. CNS- 50 7) Application of chicken mesh / fibre mesh on RCC-Masonry joints (horizontal as well as vertical) done. 8) Level pad (Thiyas) taken @ 6′ c/c on surface one day prior to plastering. (less than length of aluminium patti) 9) Use of pharma done for batching of sand for mortars. 10) Double scaffolding should be used for external plastering. (Holes in masonry will not be permitted in any case) 11) Dead walls should be treated with water proofing chemical coat if specified. 12) Hassian cloth /plastic sheet curtain over plaster for protection against sunlight /wind. 13) Surface efflorescence / foreign material / oil patches / green algae removed with wire brush 14) RCC / PCC coping for all sills and parapet top completed.
During plaster checks 1) Mechanical Mixer used for mixing of mortar 2) Proper consistency maintained as required with optimum use of water. 3) Use of tray for mixing of mortar and pharma for batching of sand done 4) Thickness of plaster maintained as per specification in two coats. 5) Third coat done, if thickness exceeds allowable limits and roughened & cured properly for 3 days. 6) 3 days curing done before application of 2nd coat over 1st coat 7) Mortar utilised within 90 minutes of preparation 8) Use of dry cement restricted to finishing of edges. 9) Line, Level and offset distance of windows, isolated beams and other architectural features checked. 10) Joints of plaster kept on centre of RCC member. 11) Horizontal joints of plaster treated with cement slurry 12) Parapet inside plaster kept continuous over parapet top to merge with external plaster without any joint. 13) Drip mould (panipatti) provided at required location 14)D epth and width of ornamental grooves maintained if specified. 15) 7 days curing done after 2nd coat. 16) Roughening of plastered surface done where tiles are to be fixed later.
Post plaster checks 1) Curing of plastered surface done for 7 days. 2) Cleaning of all surface after the work done including removal of nails & line dori. 3) Display of date for monitoring curing.